Hi everyone!
mychubbyfingers.blogspot.com has now moved to mychubbyfingers.wordpress.com !! The new blog is currently under construction and there will be changes to the blog and who runs it. Please save the new website instead of this one as I will not post another tutorial on here again without notice given on my other blog. I don't want to give too much away about the new website so you have to go check it out and please tell all your friends about the site. Posts will be better starting with two painted frames and an intricate tapestry craft that I am currently completing.
Thanks for understanding,
MCF
Saturday 12 July 2014
Saturday 19 April 2014
Origami Easter Bunnies | Easter Crafts
Hi!
Today I want to show you how to make this very cute Easter bunny using origami! You can decorate these however you like and with whatever faces!

You Will Need:
- A sheet of paper, coloured or white.
- A marker, pencil or crayon.
First, fold your square paper in half diagonally and then in half the other way, diagonally again.

Then fold the edge up, around maybe 2cm. I just eyeballed it!

Then fold both sides in to the middle.

Flip your work over and fold a small triangle at the top.

Then fold it back and tuck it in.

Them fold a triangle back from the bottom.

Then draw on a cute little face!
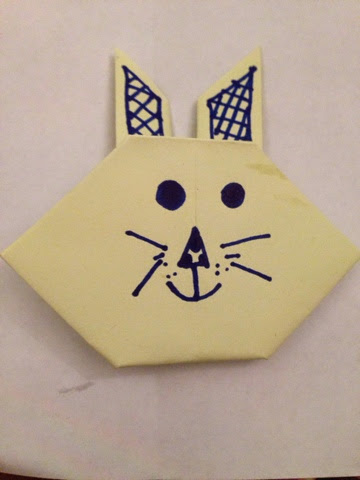
I tried making different faces on my bunnies!

And that's it!

These are really cute and really easy! They take a few minutes to fold so you can make some and then experiment with different faces! I hope you try to make these bunnies yourself and they turn out great!
Miss Chubby Fingers (MCF)
I found the idea on Pinterest.
Easter Bunny Headband | Easter Crafts
Hello again!


So I found this really cute headband craft that I had to share with you all! This craft is really simple and really cute!
You Will Need:
- A few sheets of white paper
- Scissors
- A tape measure
- A pencil
- Glue
- A pink marker or pink paper

First, measure around your head with your tape measure. Then transfer the measurement onto the page.
Mark it with a pencil. Then make marks one inch from the page so you will have one or a few strips of paper, one inch long. Don't worry if you have to stick a few strips of paper together. Cut your strip(s) out and glue together.


Mark it with a pencil. Then make marks one inch from the page so you will have one or a few strips of paper, one inch long. Don't worry if you have to stick a few strips of paper together. Cut your strip(s) out and glue together.


Then make two curved ear shapes on a piece of white paper. Then draw two smaller ear shapes next to the larger ones. Fold the page in half so the ears will be sturdy. Cut both sizes out and colour the smaller ears in pink (or draw the smaller ear shapes on pink paper straight away.)

Then glue the pink paper on to the white paper and glue the ears on to the headband strip you made at the start.


And that's it!

I hope you make these and wear them around on Easter to get your family in the spirit!
Miss Chubby Fingers (MCF)
I found the idea on Pinterest.
Egg Shell Art | Easter Crafts
Hi!


Then put it in place...


I found the idea on Pinterest.
Before I start with the tutorial I wanted to apologise for not posting last week. My mum, dad and I went for a short trip down the country and I was not able to post anything.
Anyway, this craft idea is really simple but very effective, especially since Easter is coming up!
You Will Need:
- An Easter themed image
- Glue (CLEAR works best)
- Egg shells - I put mine in the oven to harden
- Sharpie pens or other markers, in different colours

If you want to use the same image as me, here it is!
Anyway, to make the cracked egg effect, start by cracking an egg shell.


Then, pick a piece you think will fit neatly in the place of what you want to eggshell. In my case, a bow.

Then colour that eggshell piece in with one of your sharpies.


And glue it down. When I glued it down, I also cracked it a little.

And repeat the pattern...

I decided to only eggshell some of my picture so I coloured in the parts I wouldn't cover.

Then, for the eggs, I coloured three of the eggs in and egg shelled two of them. For the two I covered, I did reversed patterns.

And that's my final piece of work! I hope you enjoyed this tutorial and it was helpful!
Thanks for reading,
Miss Chubby Fingers (MCF)
I found the idea on Pinterest.
Monday 7 April 2014
Two Layer Rice Krispies Cake
Hi!
Today I'm going to show you how to make a two layer Rice Krispies cake.

I got the idea for this from my Rice Krispies cake post I did for Easter. I decided to make a larger recipe and put it in cake tins! A Rice Krispie cake! I got the recipe from the original Rice Krispie (Canada) website that I will link at the end. I also added in sprinkles to make it look more childish! But I'm warning you, this is a very sweet cake if you make the icing with it!
You Will Need:
- 250g Normal Marshmallows
- 50g Butter
- 1/2 tsp vanilla extract
- 6 cups Rice Krispies

First, you want to melt the marshmallow and butter together.

Then add the vanilla and mix.

Then add the Rice Krispies and mix mix mix!

Then evenly distribute the mixture into two greased cake pans. Flatten out. I used the bottom of a cup measurement.

Then put into the fridge to set.
Now let's move on two the icing.
You Will Need:
- 50g Chocolate
- 100g butter
- 200g icing sugar
- 1 tsp vanilla extract
- Milk to loosen
Melt the chocolate.

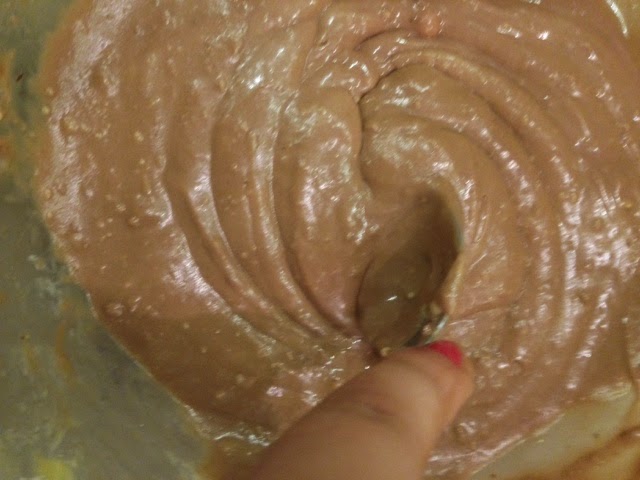
Beat the butter in a bowl and start to add in the sugar.

Then add in the melted chocolate.

Add in some milk to loosen the mixture.

This is what it should look like. Don't ask me why my finger is in the picture...
Then ice the cake.


I hope this has inspired you to make your own cake!
Miss Chubby Fingers (MCF)
Miss Chubby Fingers (MCF)
Links
The CakeRice Krispie Cakes | Easter Crafts
Sunday 6 April 2014
Rice Krispie Cakes | Easter Crafts
Hi!
Today I really wanted to show you how to make Rice Krispie cakes! These are really easy and really tasty!
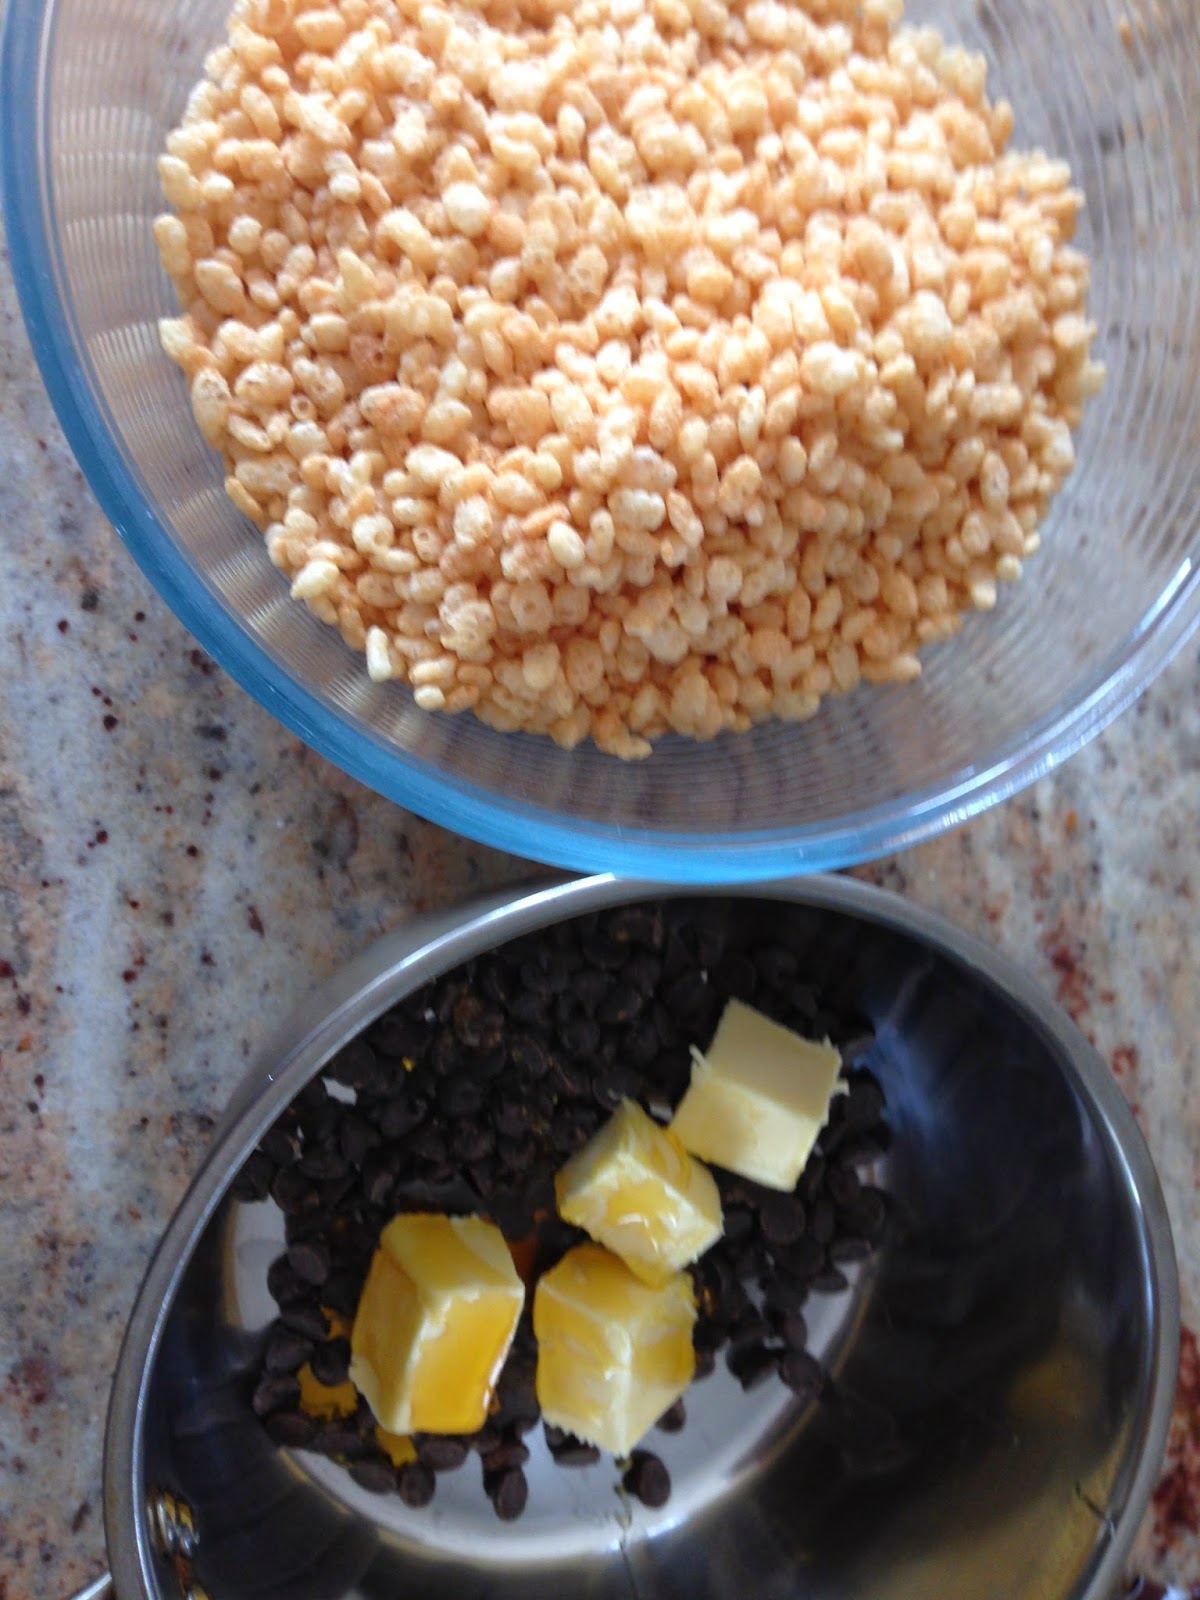
You Will Need:
- 100g Rice Krispies
- 3 tbsp Golden Syrup
- 100g Chocolate Chips
- 50g Butter
- Muffin cases and a case tray

I decided to throw some mini eggs on top too!

First, measure out your ingredients. Place your rice krispies in a very large bowl and the butter, golden syrup and chocolate into a pan.
Melt the ingredients in the pan and pour over the rice krispies.

Mix thoroughly and spoon into your cases.


I hope these get you into an easter mood and visit again for another easter craft!
Miss Chubby Fingers (MCF)
Links
Subscribe to:
Posts (Atom)